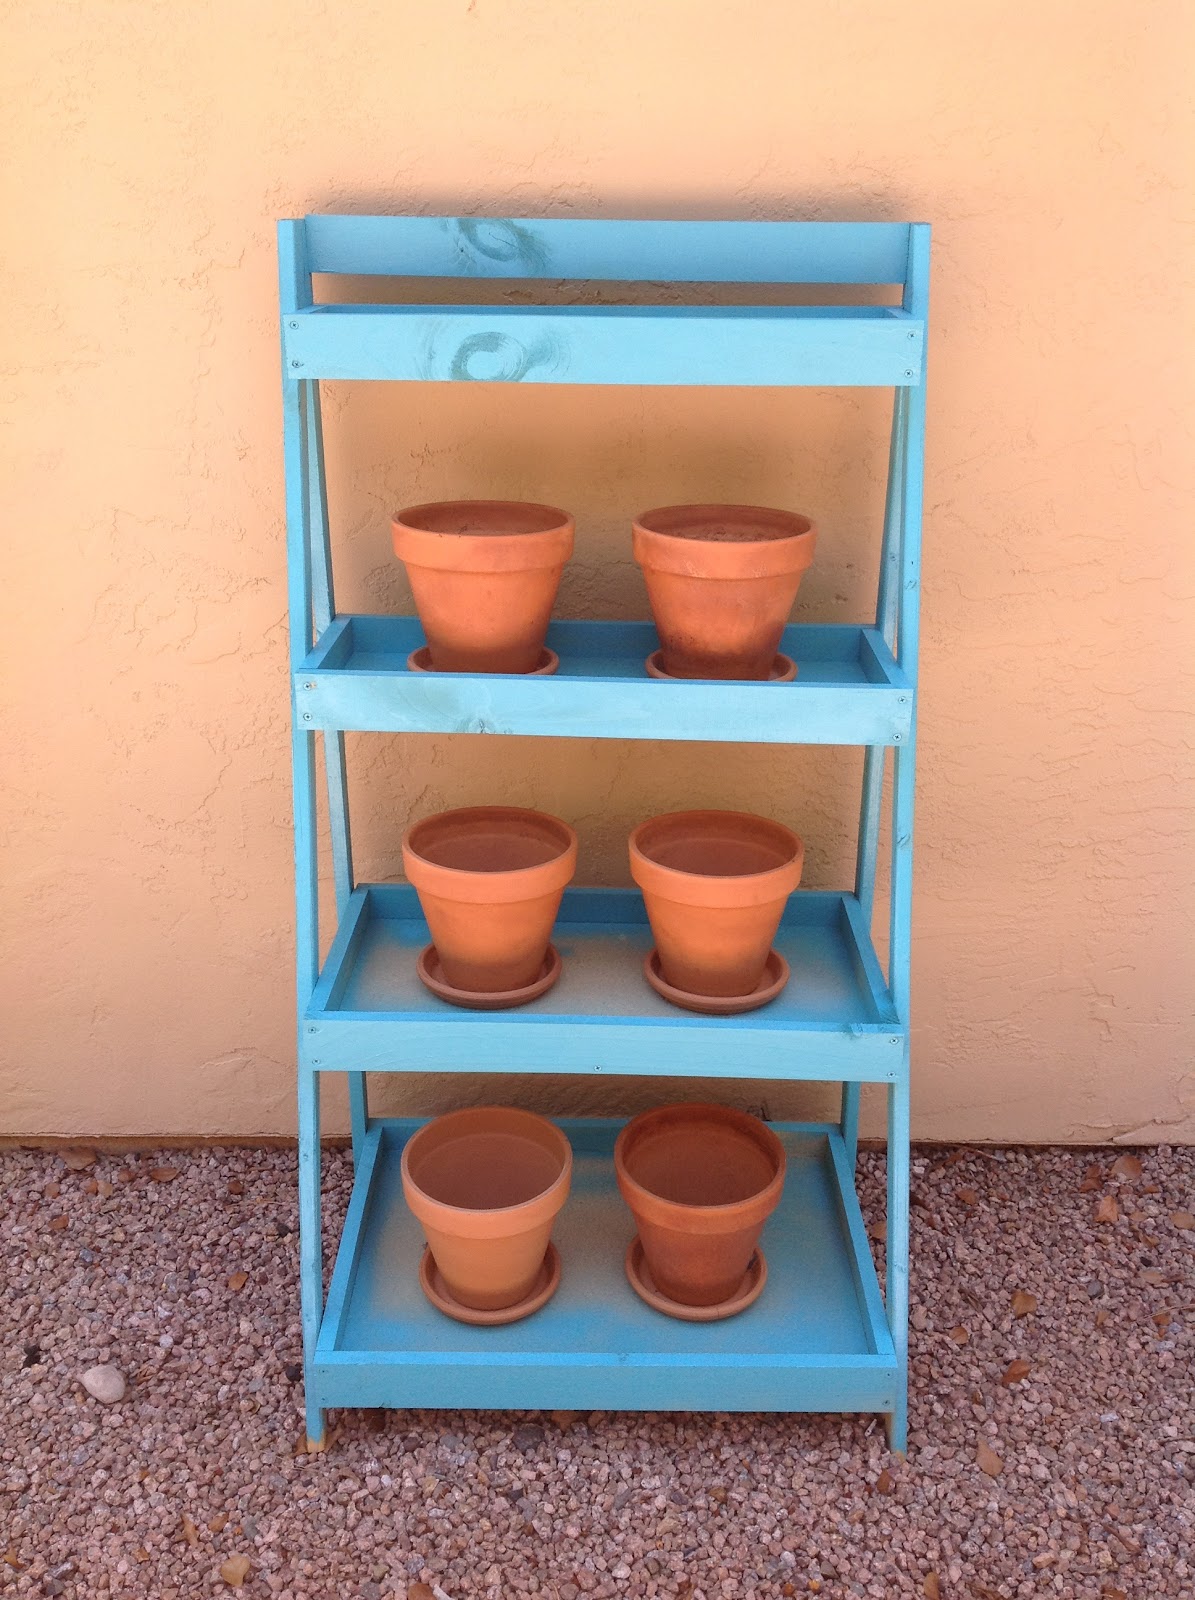
This Painter's Ladder Shelf is perfect for apartment gardening because it takes up just around three feet of space on my tiny patio. Mine was built with the instructed measurements, but they would be easy to adjust if you want a wider or narrower shelf. The angle of the shelves allows each pot to get a fair amount of light. I'm now growing veggies and herbs on my patio!!!
If you've never taken on a woodworking project, it's ok! This was my first time, and Ana White's step-by-step instructions and pictures make the whole process a breeze. It took me an hour to cut the wood and two hours to put the thing together, and I have some tips for you to drastically cut down the time.
Based on my experience, I recommend the following:
(At the hardware store)
1.) Check the scrap wood pile. Most of what you need you can probably find here. I spent $24 on this whole project, and it would have cost me less than $7 if only I had known to look there first!
2.) Ask your hardware store to cut the wood to the needed measurements for you; they will do it for free, and it'll only take them ten minutes (instead of an hour). They're pros, they won't make mistakes, and even if they do you won't have to pay for them (I spent $2 buying a replacement for a piece I cut wrong)
3.) Get advice on how to cut at an angle if you don't have a miter saw. I drew my angles and cut along the line with a jig saw.
(At Home)
4.) Read every step and study the pictures before you begin. You could even print them out and tape them up on the wall if that's your thing.
5.) Take on this project as a team. Invite your neighbor to craft with you, and make one for you and one for her! With a second set of hands, it would have taken well under an hour.
6.) For goodness sake, listen to Ana White and attach the shelves to the frame on a flat surface! It's not noticeable but my shelves are slightly off-kilter (refer to my last point).
 |
I turned the ladder on its side to attach the shelves, since I didn't
have an extra set of hands to hold them in place.
|
In Summary:
I paid: $24 Could have paid: < $8
I spent: 3 hours Could have spent: < 1 hour
Remember that you can tackle any project if you face it with the right attitude. Find joy in the work, not just the result of your work; you'll be proud of the outcome!
Happy crafting!
Kaitlin